
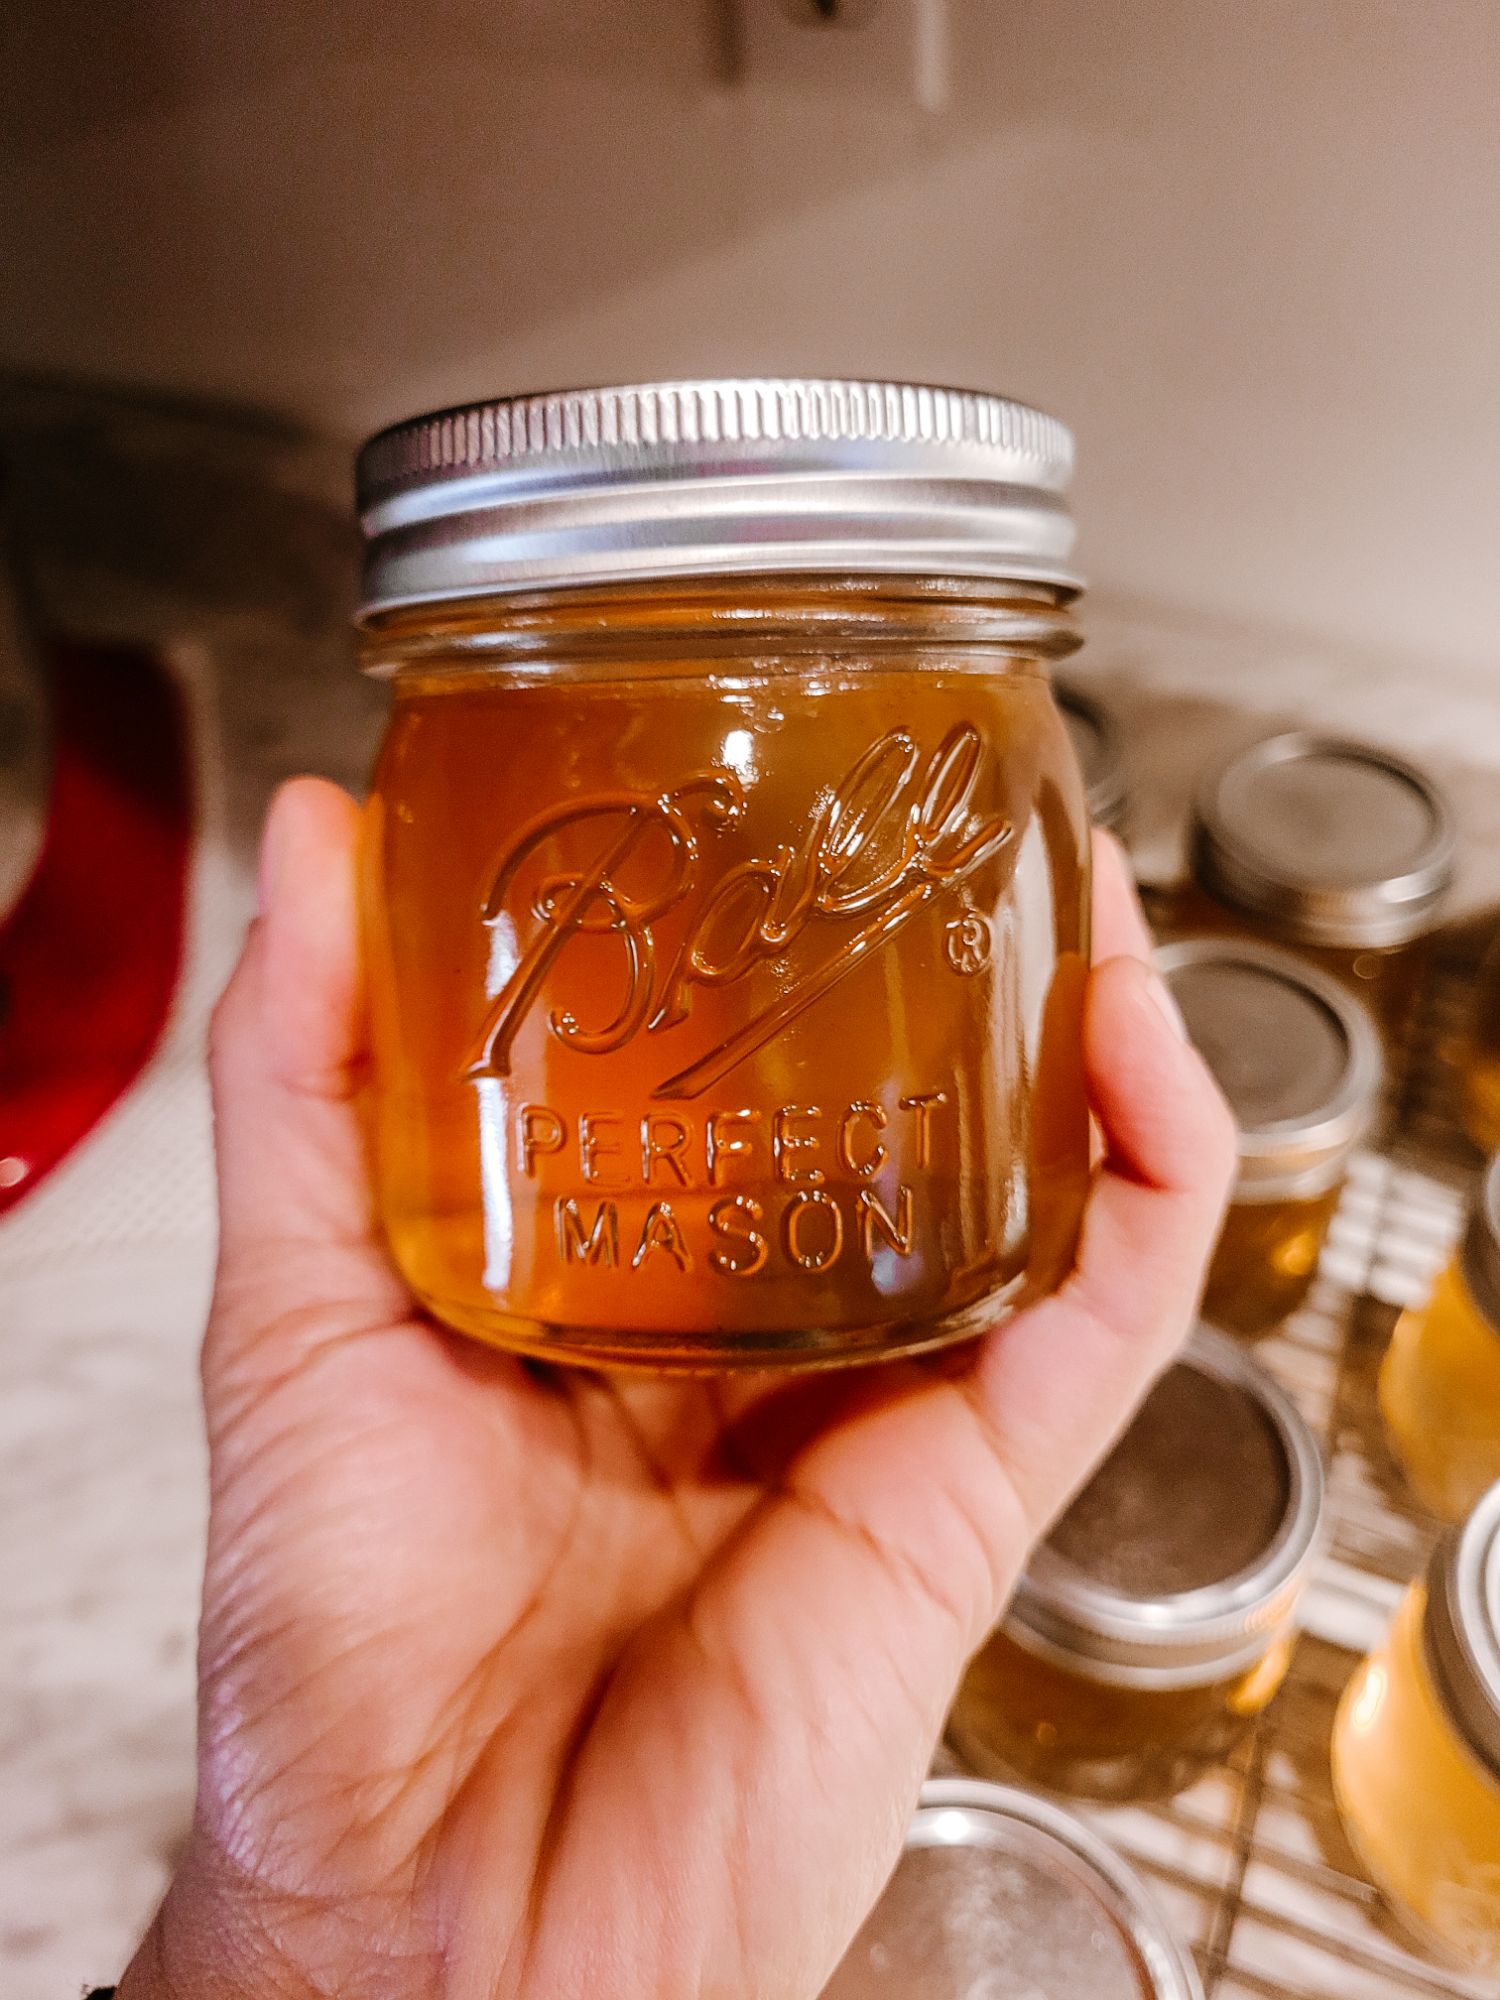
Canning homemade jelly is a rewarding way to preserve seasonal fruits and enjoy their flavors year-round. It can seem overwhelming at first but once you grasp the basics it takes no time to ship out a batch of jelly. I did not grow up canning, I’m a self-taught adult too! If the women of the pioneer days did it, we can too!
When I started having kid I started leaning toward more homemade items. I was disgusted to see all the processed, preservatives, additives and artificial flavors my kids were consuming everyday. We could not afford organic everything or to even fully shop at wholefoods. So I picked a few common items to start making myself and that list eventually grew longer and longer. Jelly was one thing I chose in the beginning and now refuse to buy, even in a pinch! food from a canning jar comes from the heart.

Jelly vs. Jam
The main difference between jam and jelly comes down to texture and ingredients. Jelly is made from fruit juice, giving it a smooth and firm consistency, while jam is made from crushed or pureed fruit, resulting in a thicker, chunkier spread. Jelly is typically clear and spreads easily, whereas jam retains bits of fruit, adding more texture and flavor. Both are delicious in their own way, but if you prefer a silky, gel-like spread, jelly is the way to go. On the other hand, if you enjoy small bits of fruit in every bite, jam might be your favorite choice! Stay tune for a Strawberry Jam Recipe!
Supplies You’ll Need:
- Fresh fruit or fruit juice
- Sugar
- Pectin (I use powdered)
- Lemon juice or Citric Acid (if required for acidity)
- Canning jars with lids and bands
- Water bath Canner or Large pot with lid
- Jelly strainer or cheesecloth
- Canning funnel
- Ladle
- Lid Magnet and Bubble Remover/Measure tool
- Jar lifter
- Clean towels
- Cooling rack or towels

I always follow recipes when I can food. HERE are my favorite books to use! Below are the basic steps but I recommend purchasing the books I mentioned in this article.
Step 1: Prepare Your Ingredients
Choose high-quality, ripe fruit to ensure the best flavor. Wash and hull the fruit as necessary, then extract the juice by simmering the fruit in a pot with a small amount of water. Strain the mixture using a jelly strainer or cheesecloth to remove pulp and seeds.
Step 2: Cook the Jelly
- In a large saucepan, combine the fruit juice, sugar(its going to be a lot!!), and pectin according to the recipe’s instructions.
- Bring the mixture to a rolling boil, stirring constantly to prevent scorching.
- If required, add lemon juice to enhance the acidity for proper gel formation.
- Boil for 1-2 minutes until the mixture reaches the proper setting point.

Step 3: Prepare Jars for Canning
- Wash jars, lids, and bands thoroughly with hot, soapy water.
- Sterilize the jars by boiling them in a large pot for 10 minutes or keeping them in a hot dishwasher cycle.
- Keep jars warm until ready to fill to prevent cracking.
Step 4: Fill the Jars
- Using a ladle and a canning funnel, pour the hot jelly into sterilized jars, leaving about ¼ inch of headspace. Always refer to your recipe for proper headspace.
- Wipe jar rims clean to ensure a proper seal. I like to use vinegar for extra disinfectant.
- Boil your lids and bands for 10 minutes as well. This now only sterilizes but also allows the seal on the flat to loose for proper sealing.
- Place lids on the jars and screw bands on until fingertip-tight.
Step 5: Process in a Water Bath
- Place the filled jars in a boiling water bath canner, ensuring they are fully submerged.
- Boil for 10-15 minutes (adjust for altitude if necessary).
- Remove jars using a jar lifter and place them on a cooling rack or towel to cool.
Step 6: Check Seals and Store
After cooling for 12-24 hours, check the seals by pressing the center of each lid. If it doesn’t flex, the jar is sealed properly. Store sealed jars in a cool, dark place for up to a year. If any jars didn’t seal, refrigerate and use them within a few weeks.
Enjoy Your Homemade Jelly!
Canning jelly is a simple yet satisfying way to preserve fruit flavors and share homemade treats with family and friends. Experiment with different fruits like strawberries, blueberries, or sandplums to create unique flavors. Happy canning!




Leave a Reply