
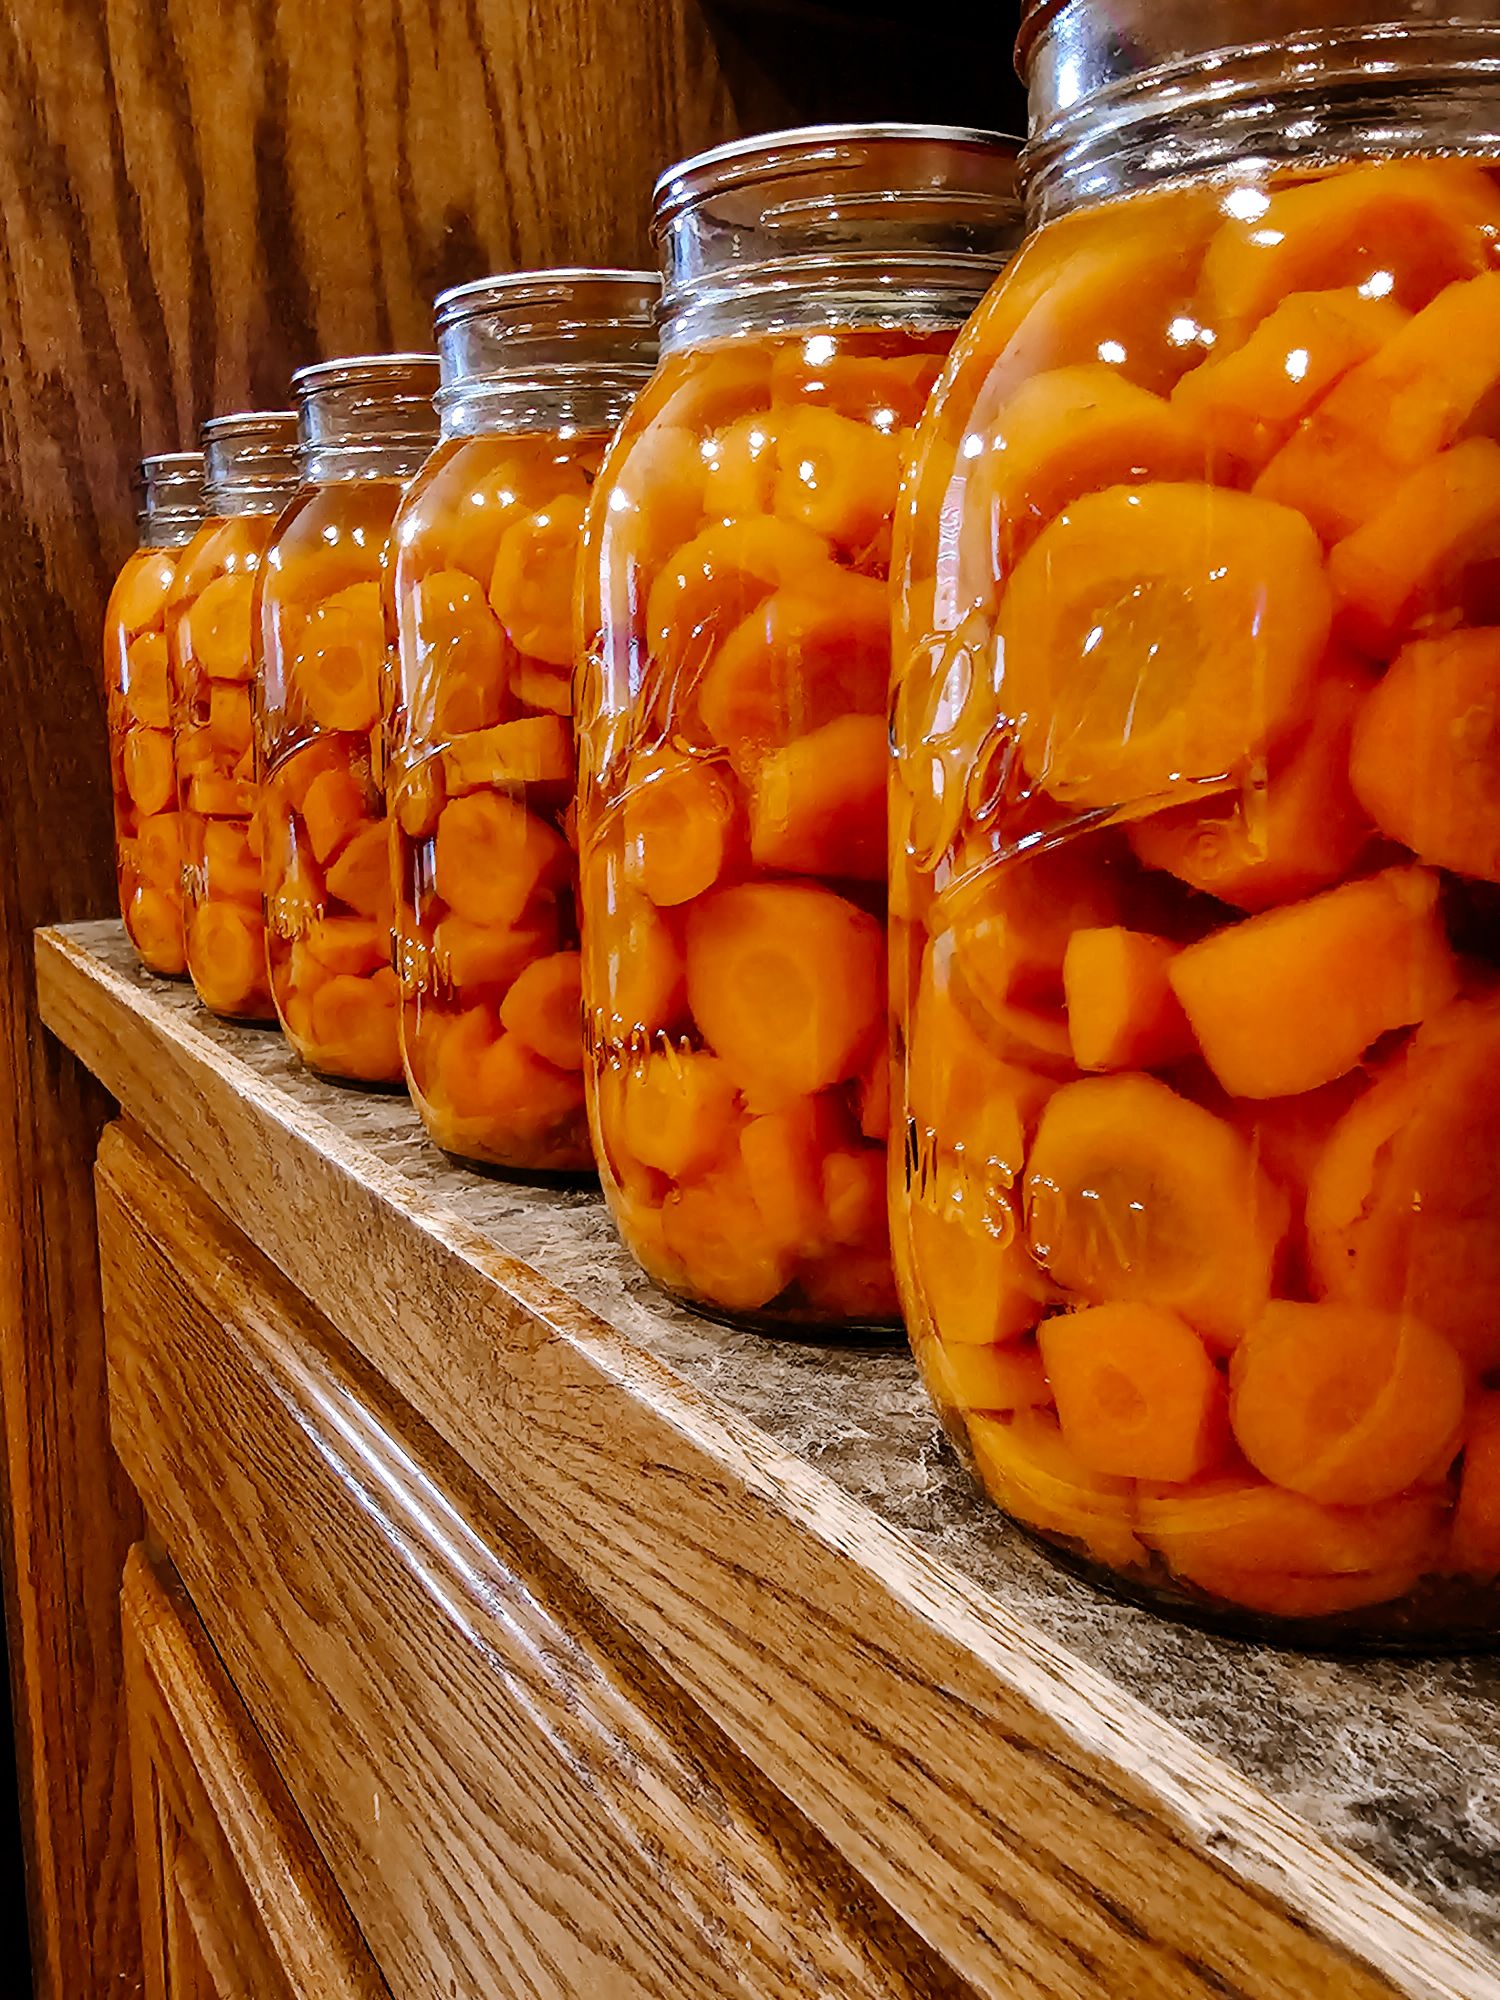

Canning your own vegetables is a rewarding and practical way to preserve your harvest. In this guide, I’ll walk you through the process of pressure canning carrots, ensuring you have delicious, shelf-stable carrots ready for soups, stews, and more throughout the year. Let’s get started!
Step 1: Prepare Your Carrots
Begin by thoroughly washing and peeling your carrots. This ensures that any dirt or residues are removed. Once peeled, chop the carrots into your preferred size. For versatility, you can chop some into smaller pieces for soups and leave others in larger chunks for stocks and stews.
Step 2: Pre-Cook the Carrots
Pre-cooking the carrots allows you to fit more into each jar. Boil the chopped carrots for about five minutes. This short cooking time is sufficient to soften them slightly without fully cooking, which will happen during the canning process.
Step 3: Prepare the Jars and Canner
While your carrots are boiling, prepare your pressure canner. Fill the canner with 2-3 inches of hot water. To measure this accurately, you can use a tool marked at the appropriate level. Meanwhile, heat your canning jars in the dishwasher or boil them for 10 minutes to keep them warm and sterilized.
Step 4: Fill the Jars
Using a slotted spoon, transfer the pre-cooked carrots into the warm jars, leaving about an inch of headspace at the top. Pour the hot cooking liquid over the carrots, maintaining the 1-inch headspace. This liquid helps ensure even cooking and prevents air pockets.

Step 5: Clean and Seal the Jars
Wipe the rims of the jars with a cloth dipped in distilled vinegar. This step ensures a clean surface for the lids to adhere to, which is crucial for a good seal. Place the lids on the jars and screw on the bands until they are fingertip-tight.
Step 6: Process in the Pressure Canner
Place the jars in the pressure canner on a rack to prevent direct contact with the bottom of the canner. Secure the lid of the canner and process the jars at the pressure recommended for your altitude and type of pressure canner. For carrots, this is usually 10-15 pounds of pressure for 25-30 minutes. Be sure to follow your canners manual recommendation.
Step 7: Cool and Store
Once the processing time is complete, turn off the heat and let the canner cool down naturally before opening the lid. Carefully remove the jars and place them on a towel to cool for 12-24 hours. After cooling, check the seals by pressing down on the center of each lid. If the lid does not pop back, the jar is sealed. Remove the bands, wash the jars to remove any residue, and store them in a cool, dark place.
Final Thoughts
Canning carrots can be a bit labor-intensive, but the rewards are worth it. You’ll have a pantry stocked with delicious, home-preserved carrots that are ready to use in various dishes. Remember, properly canned carrots can last up to a year, making them a valuable addition to your food storage.
By following these steps, you’ll be able to enjoy the satisfaction of canning your own carrots, knowing exactly what’s in each jar and having the convenience of ready-to-use vegetables whenever you need them. Happy canning!
Tips and Additional Notes
- Salt: If you prefer, you can add canning salt to your jars for flavor. Avoid iodized salt as it can cause discoloration.
- Sanitization: Always ensure your jars and tools are properly sanitized to prevent contamination.
- Storage: Store your canned carrots without the bands to easily monitor the seals and prevent rust
My Canner: All American 21.5qt.




Leave a Reply